How to Use
Team Glossary
Installation
Follow these steps to install Team Glossary in your monday.com workspace:
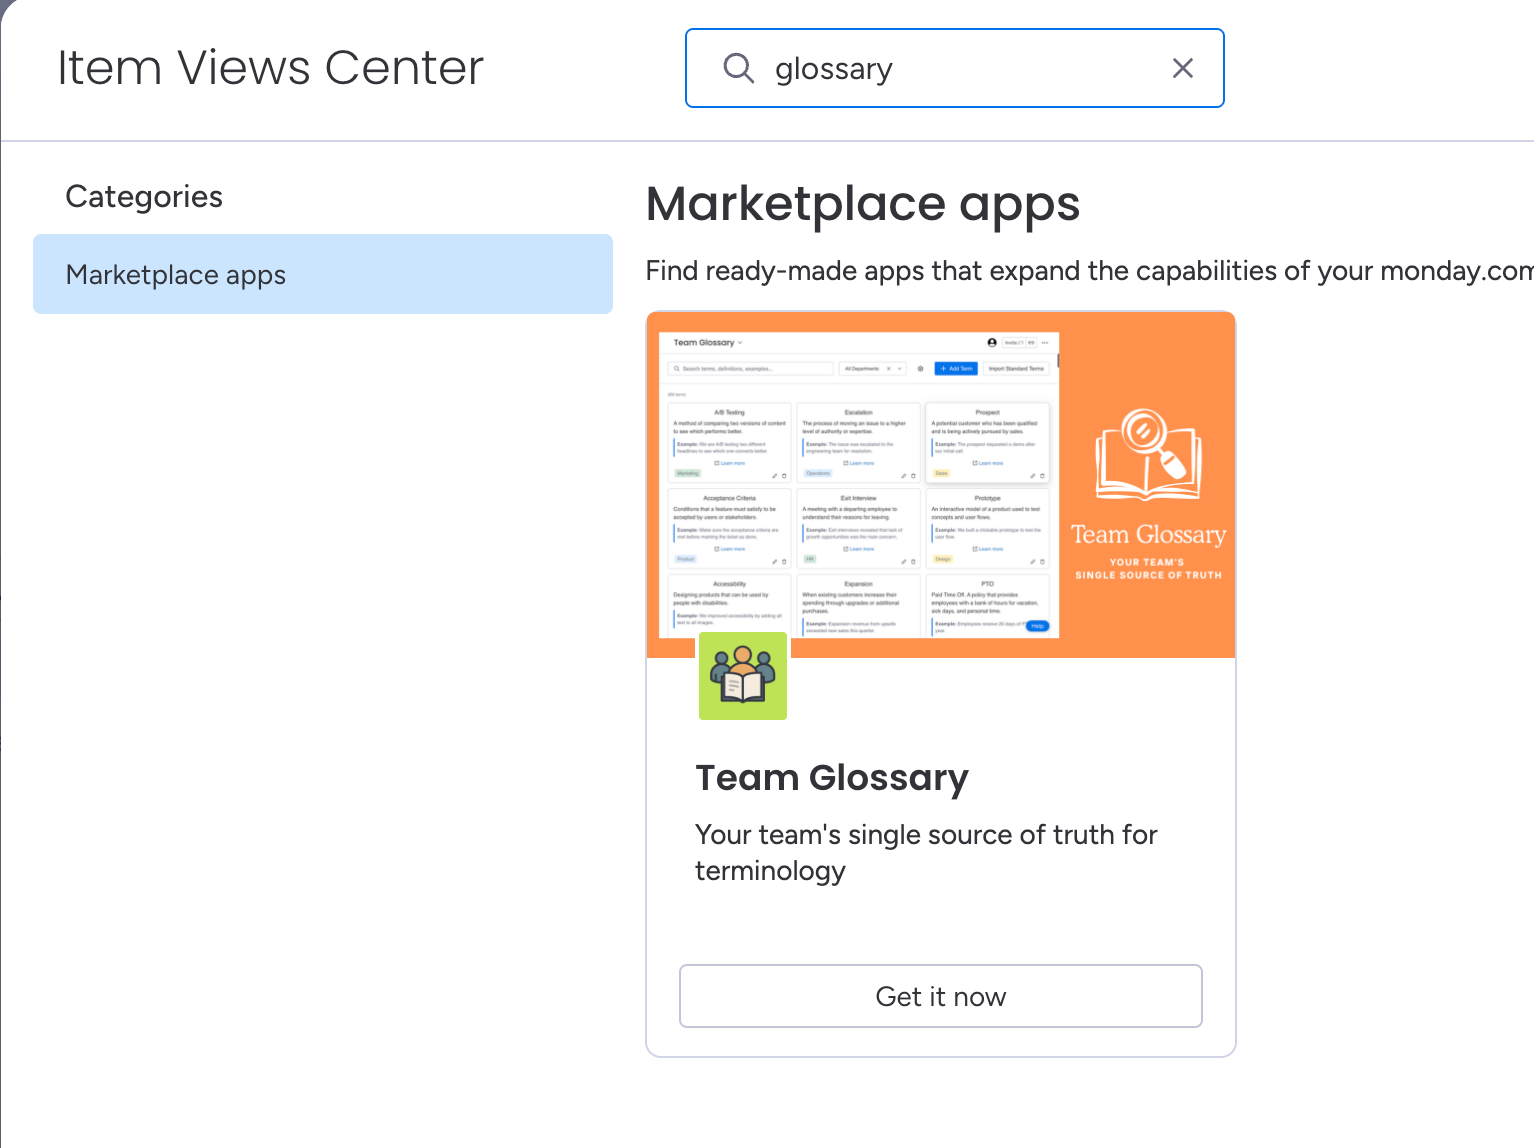
- Visit the monday.com marketplace and search for "Team Glossary"
- Click "Add to your account" to install the app
- Once installed, the app will be available as a standalone app and as an item panel widget
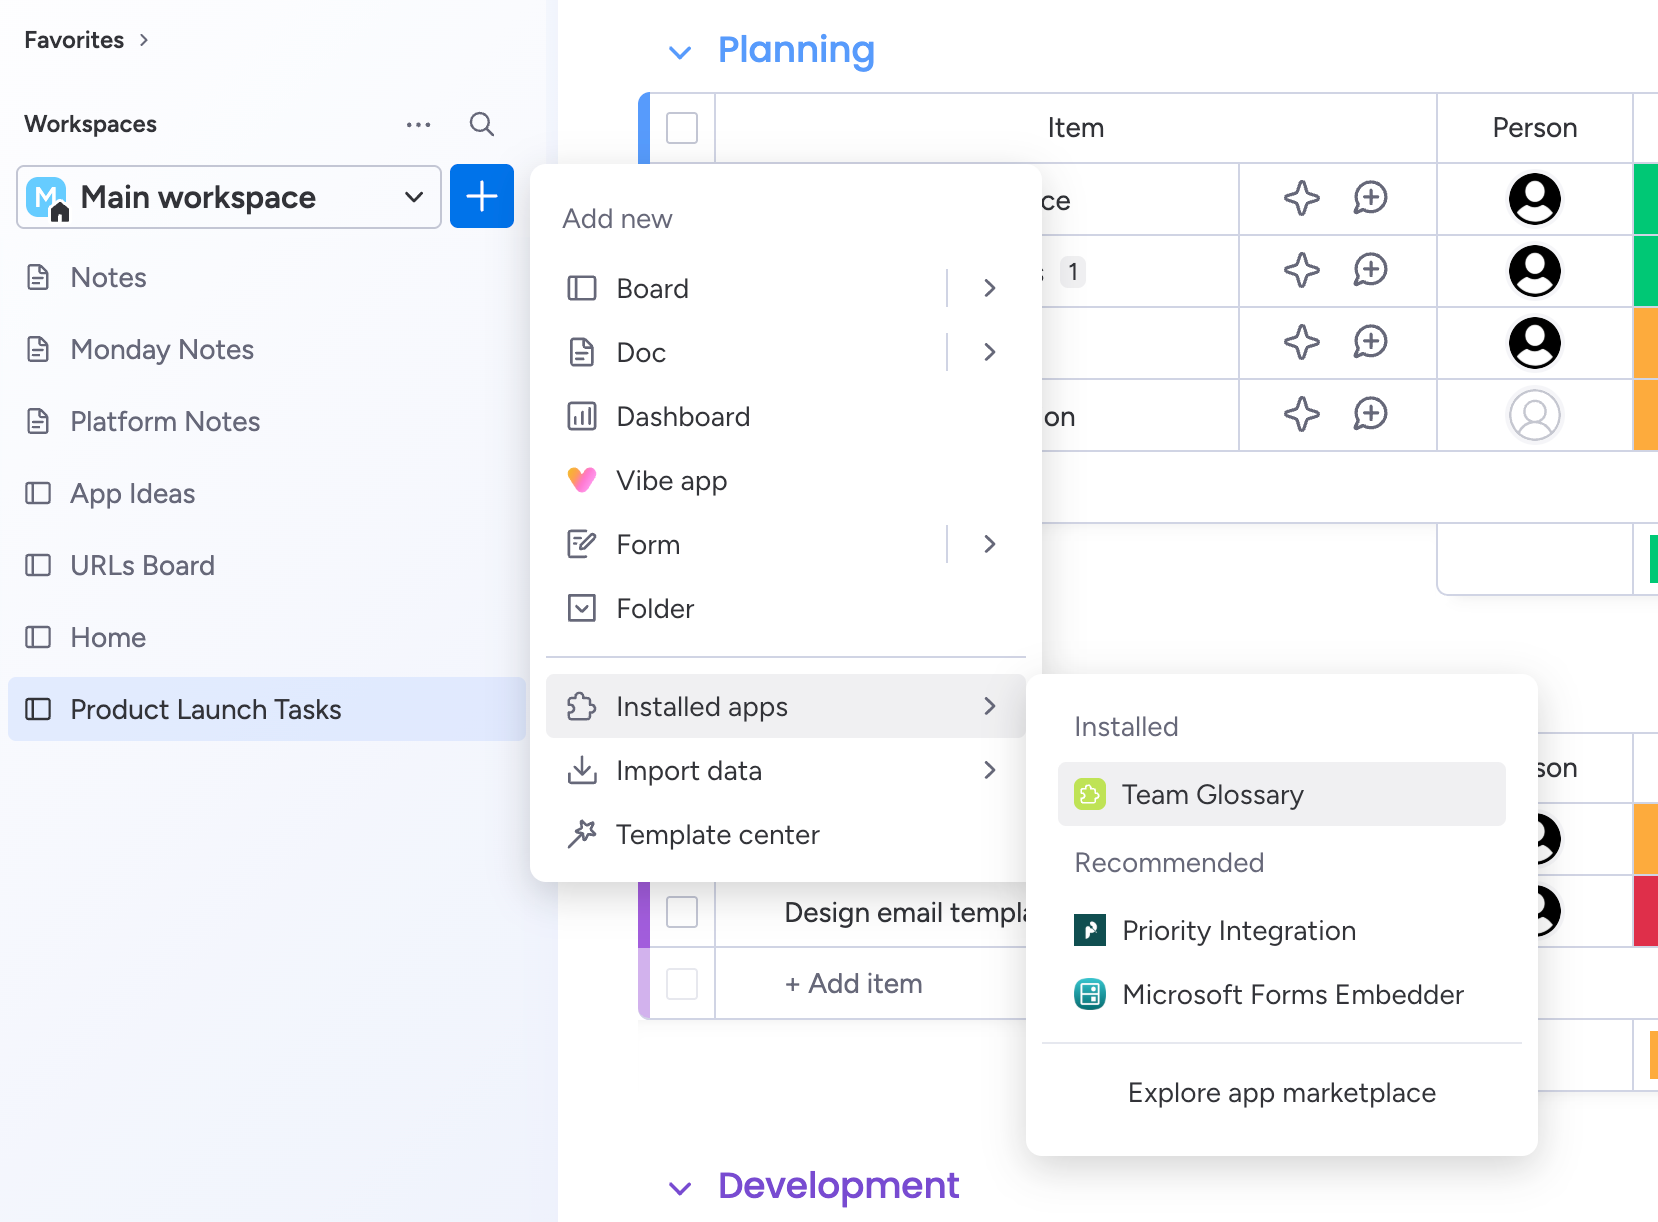
Adding Team Glossary to your workspace
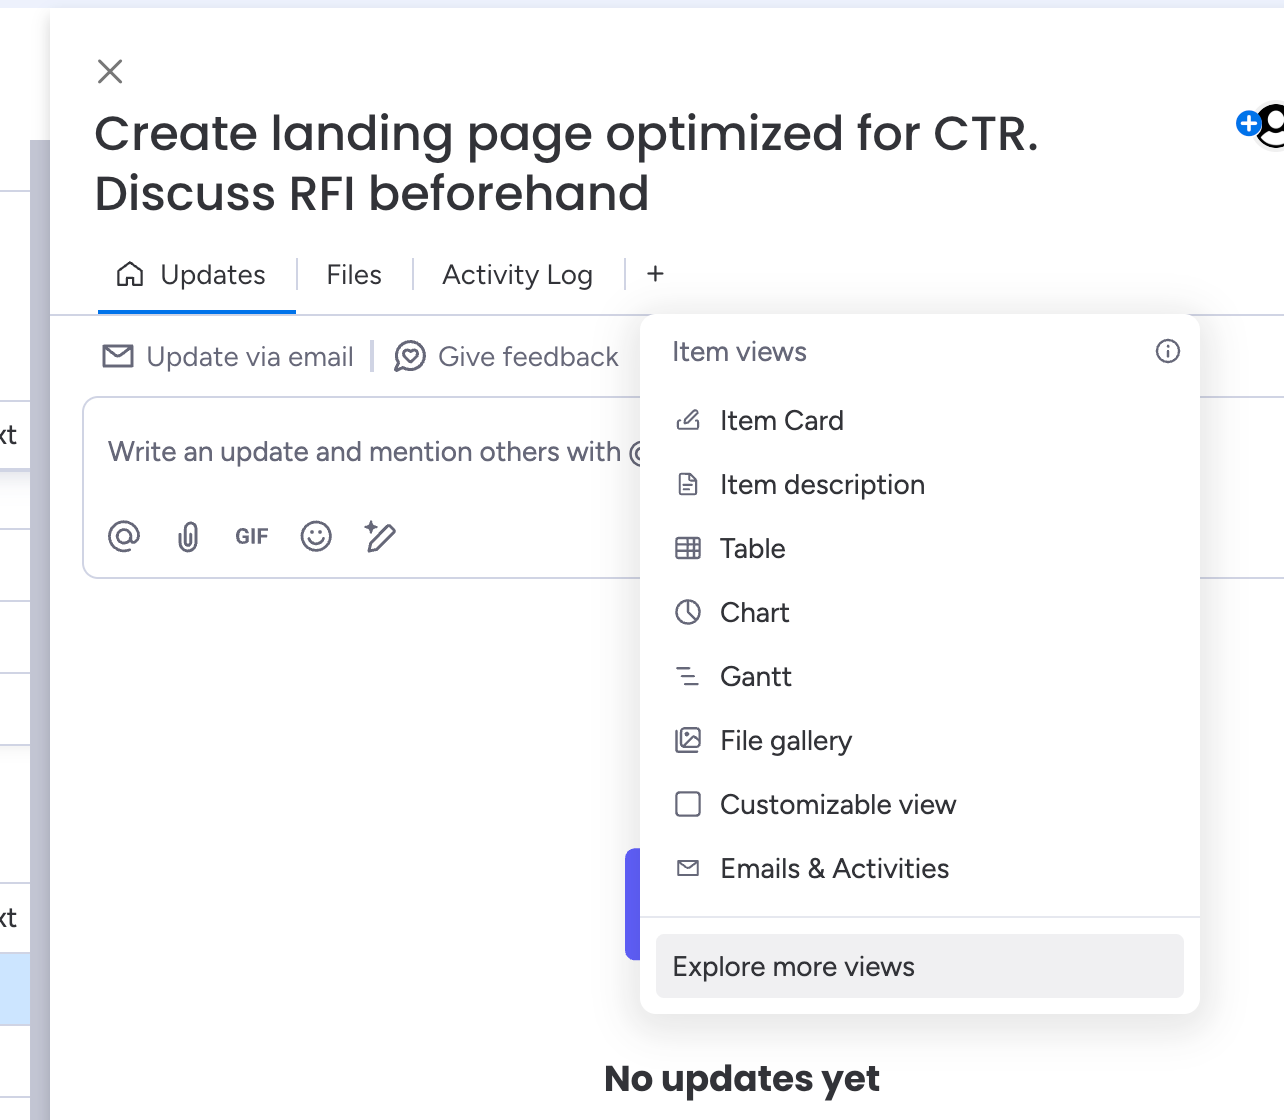
Adding the item panel widget - Step 1
Adding the item panel widget - Step 2
User Permissions
Team Glossary has different access levels based on your monday.com user role:
- Admin - Full access to add, edit, delete, and configure terms
- Member, Guest, Viewer - View-only access to browse and search terms
Contact your workspace Admin if you need to add or modify glossary terms.
Using the Main Library
The Main Library is your central hub for managing all team terminology:
- Access the Main Library from your monday.com workspace
- Browse all company terms in a clean, wiki-style grid format
- Use the search bar to find specific terms across all departments
- Filter by department to see only relevant terminology

Main Library with search and add terms functionality
Adding Terms
Add new terms to build your team's glossary:
- Click the "Add Term" button in the Main Library
- Fill in the term details:
- Term Name - The word or acronym (e.g., "CAC", "Sprint")
- Definition - Clear explanation of what the term means
- Department - Which team or department owns this term
- Usage Example - A real-world example of how the term is used
- Related Link - Optional link to additional documentation
- Click "Save" to add the term to your glossary
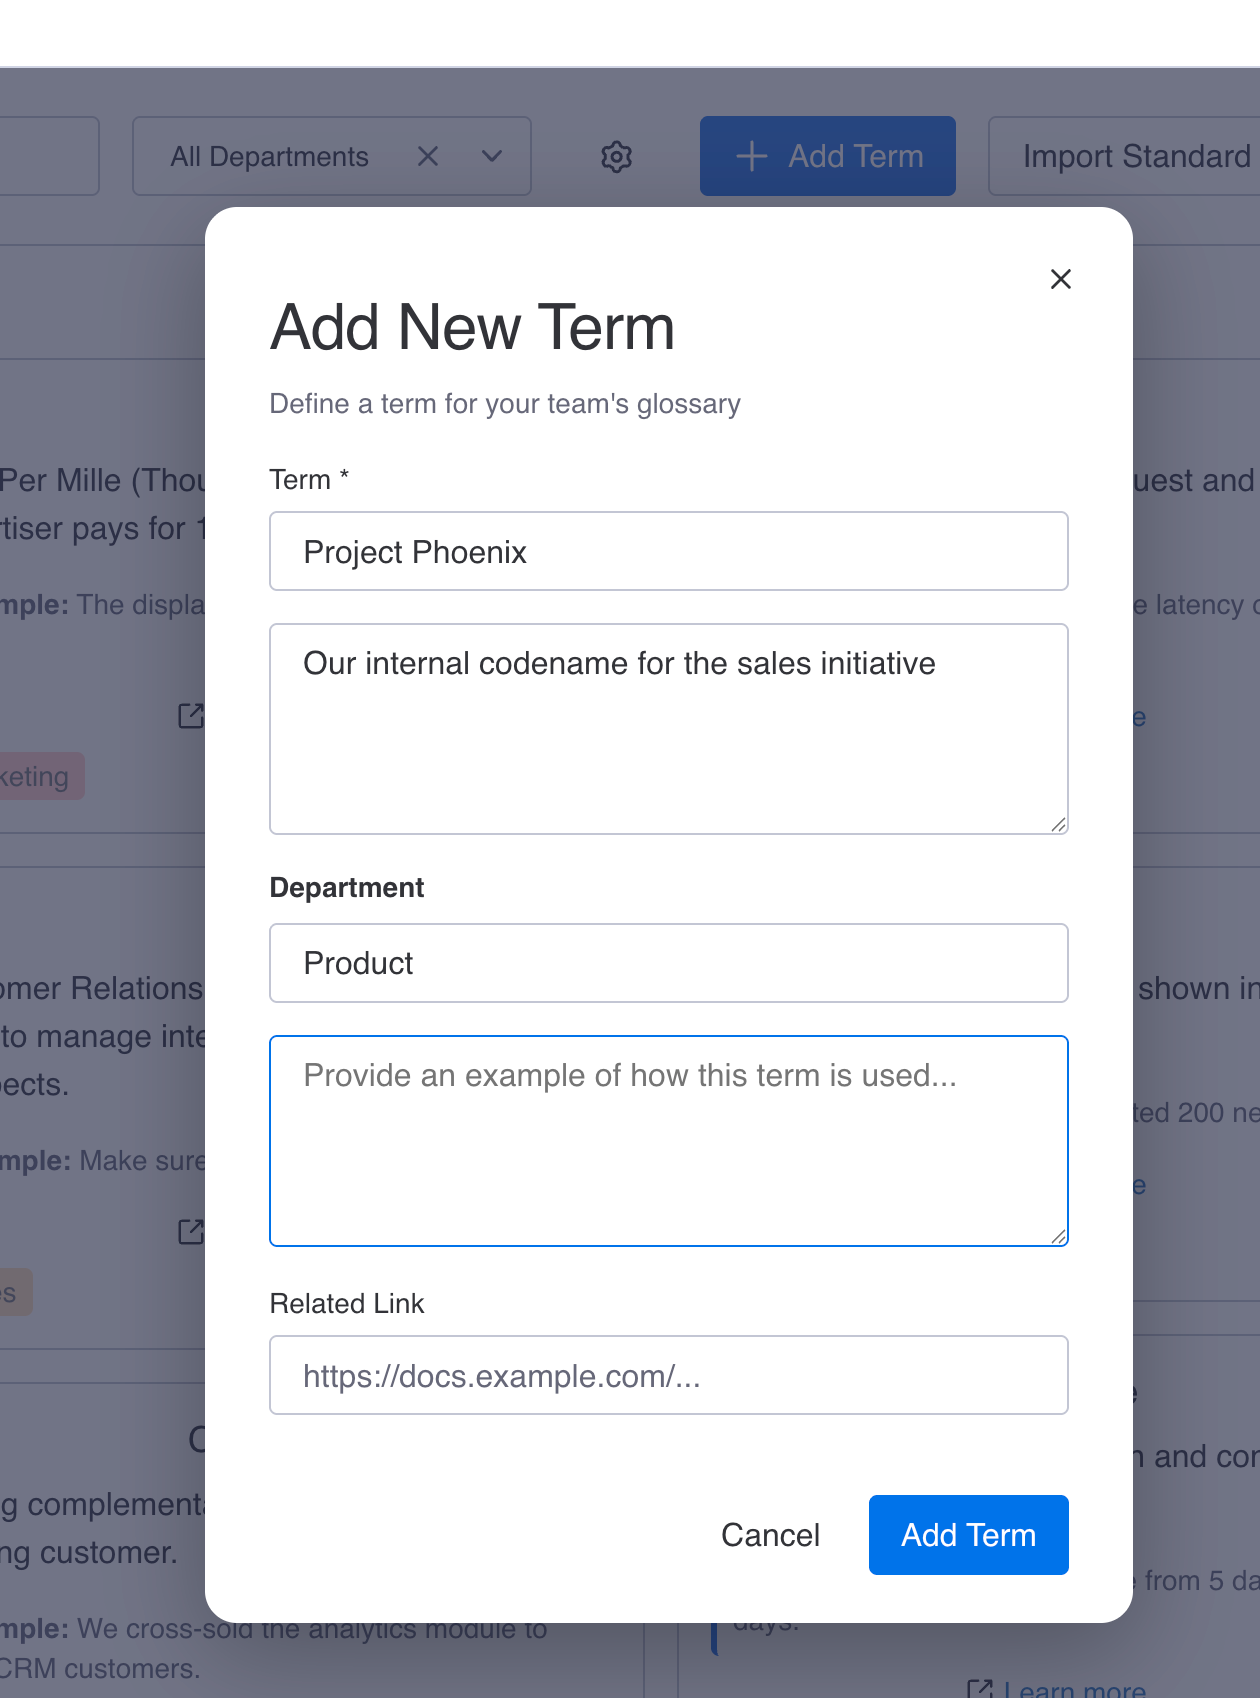
Add New Term modal with all fields
Using the Context Assistant (Item View)
Get contextual definitions while working on tasks:
- Open any item in your monday.com board
- The Context Assistant automatically scans the item's content for glossary terms
- Detected terms are displayed with their definitions in the side panel
- Use the search feature to manually look up any term not automatically detected
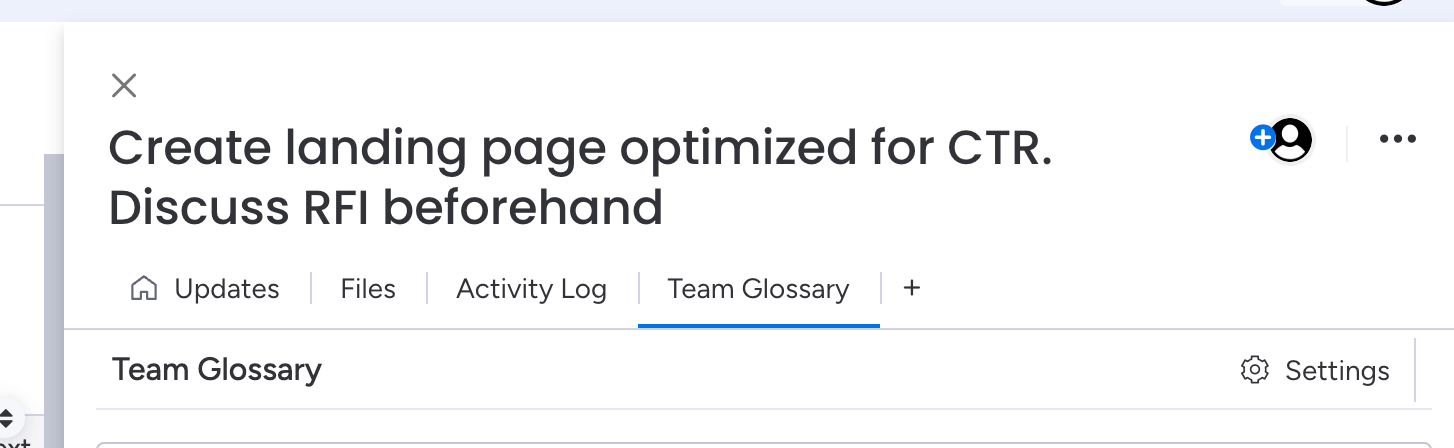
Accessing the Context Assistant from an item
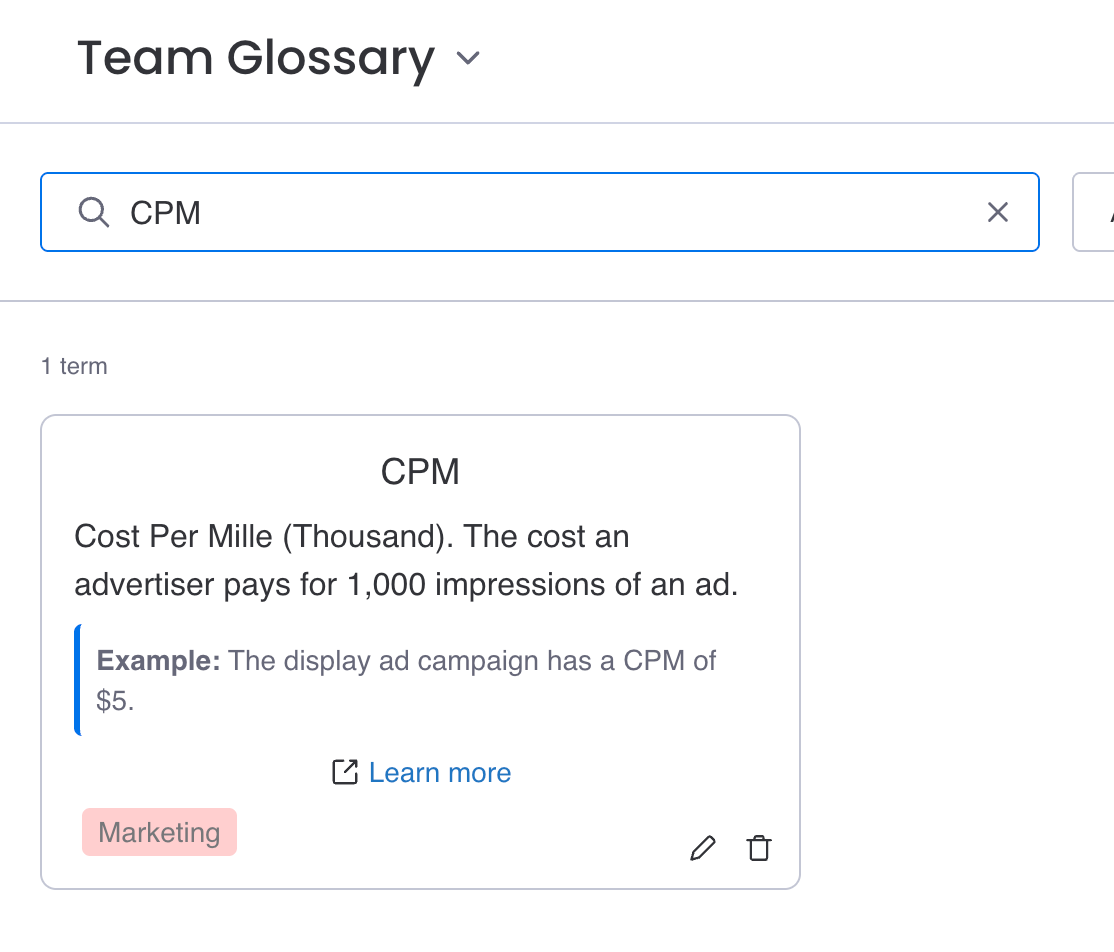
Searching for terms in the Context Assistant
Department Filtering
Organize and filter terms by department:
- Each term must be assigned to a department when created
- Use the department dropdown in the Main Library to filter the view
- Common departments include Marketing, Engineering, Sales, Operations, etc.
Editing and Deleting Terms
Keep your glossary up to date:
- Click on any term in the Main Library to view its details
- Click "Edit" to modify the term's information
- Click "Delete" to remove outdated or incorrect terms
- Changes are saved automatically and reflected across all views
Importing Standard Terms
Jumpstart your glossary with pre-built industry standard terms:
- Click the "Import Terms" button in the Main Library
- Select the departments you want to import terms for:
- Engineering - CI/CD, API, Hotfix, Sprint, Backlog, etc.
- Marketing - CAC, LTV, CTR, ROAS, etc.
- Finance - ROI, P&L, EBITDA, etc.
- HR - PTO, FTE, Onboarding, etc.
- Sales - MQL, SQL, ARR, Churn, etc.
- Operations - KPI, SLA, EOD, etc.
- Click "Import" and the terms are automatically added to your glossary
- Imported terms can be edited or deleted like any other term
Note: The standard terms are sourced from Wikipedia.
Best Practices
- Start by adding the most commonly used acronyms and jargon
- Include usage examples to provide context
- Assign each term to the appropriate department for better organization
- Review and update terms regularly to keep definitions current
- Encourage team members to suggest new terms that should be added
Need Help?
If you have questions or need assistance, please contact us at [javascript required to view email].